


If you’re looking for an affordable way to refresh your home, a stair makeover offers one of the best returns on your time and effort. In just a weekend, you can completely transform your stairs from dull to designer without hiring a contractor. Whether your goal is to boost resale value or add charm to your everyday space, this DIY guide walks you through the process step by step with easy instructions anyone can follow.
Why Reimagine Your Stairs?
Your staircase is more than a path between floors—it’s a visual centerpiece. Worn treads, outdated carpet, or scuffed handrails draw attention for all the wrong reasons. Updating your stairs can instantly modernize your home, brighten interiors, and create a warm welcome that flows naturally with your décor.
Because this project can be completed over a weekend, it’s perfect for homeowners who want a significant visual impact with manageable effort. Even small updates—like fresh paint or a decorative runner—can make a huge difference.
Step 1: Prepare for the Makeover
Before lifting a paintbrush or pulling up that old carpet, take time to plan your new look. Consider the style of your home—modern, farmhouse, traditional, or coastal—and choose materials and colors that coordinate with nearby décor.
Materials you might need:
- Sandpaper or an electric sander
- Painter’s tape and drop cloths
- Wood filler and putty knife
- Primer and paint or stain
- Paintbrushes and rollers
- Stair treads, runner, or carpet adhesive (if needed)
- Measuring tape and level
- Screwdriver or drill for railings
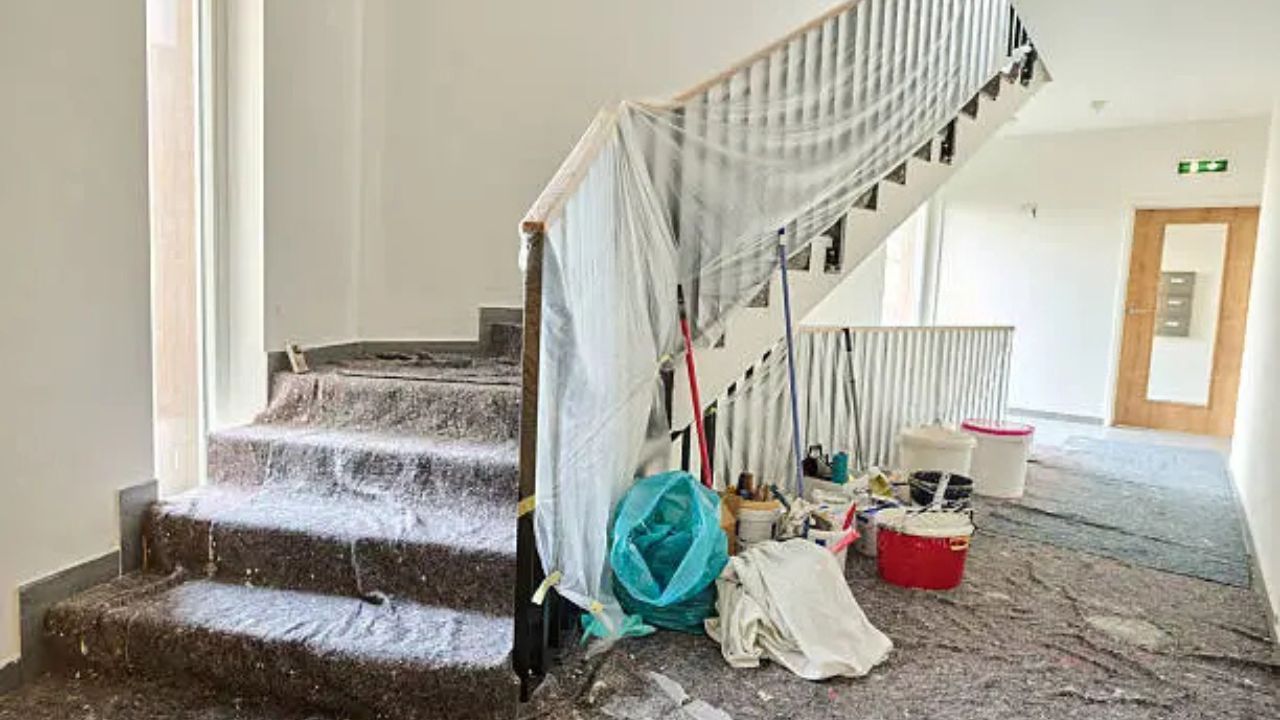
Take photos before you begin for a satisfying before-and-after comparison. Next, clear the work area, move furniture away, and lay down drop cloths to protect floors and walls. Proper prep ensures a clean result and helps avoid unnecessary touch-ups later.
Step 2: Strip Away the Old Look
Start by removing any carpet, vinyl, or stair treads currently in place. Use pliers to pull staples and a scraper to remove adhesive residue. Be patient in this phase—it’s the most tedious but sets you up for lasting results.
Once bare, inspect each step for squeaks or loose boards. Tighten fasteners or add screws where needed. Fill cracks or gaps with wood filler, then sand every surface smooth. Wipe dust with a damp cloth so your primer—coming up next—will adhere evenly.
Step 3: Prime, Paint, or Stain
Decide between painting and staining based on your desired finish.
- Painted stairs are ideal for a crisp, updated look. Go for durable floor paint in neutral shades like charcoal, taupe, or white.
- Stained stairs bring out natural wood grain and warmth, especially when accented with black or wrought-iron railings.
Apply primer first, allowing it to dry thoroughly before painting or staining. Work from the top step down, alternating between treads and risers so you have a pathway as you go. A clear top coat or polyurethane finish adds durability and prevents scratches from daily use.
Step 4: Refresh the Railings
Your railing makes just as strong an impression as the steps themselves. If it’s loose, tighten the bolts. If it’s dated, a quick sanding and coat of paint can work wonders. Black, matte bronze, or brushed nickel align well with most décor styles and add contrast without overwhelming.
If you want a more modern touch, replace wooden spindles with metal balusters for open sightlines and a sleek feel. You can even mix and match—pair a painted handrail with natural wood stair treads for an airy, transitional look.
Step 5: Add Decorative Touches
Now comes the most creative part: dressing up your newly renovated staircase! A few design accents can transform your stairwell into a statement piece.
Here are simple décor ideas that elevate visual appeal:
- Add wall art or framed photos. Create a vertical gallery wall along your staircase for personality and warmth.
- Incorporate lighting. A vintage-inspired swag chain chandelier above the landing provides stylish illumination and highlights your hard work.
- Choose a stair runner. Patterned runners not only add texture but also reduce noise and provide slip resistance.
- Dress up adjacent windows. Coordinating textiles—like your favorite curtains from Country Village Shoppe—can help tie the stairwell to surrounding rooms for a cohesive look.
These finishing details make your project feel professionally designed, even though you completed it in just a few days.
Step 6: Protect and Maintain Your Work
After everything has dried and settled, seal high-traffic areas with an extra layer of protective finish. This small step extends the life of your makeover and helps your stairs stay beautiful longer. Wipe stairs regularly with a gentle, wood-safe cleaner, and avoid dragging heavy objects up and down the steps. If you chose painted risers, spot touch-up chips every six months to keep them fresh and scuff-free.
Weekend Project, Lifetime Upgrade
With just two days and a few basic tools, you can give your staircase—and your entire home—a fresh, high-end look. What makes this project so rewarding is the immediate transformation it delivers. Every time you walk upstairs, you’ll see proof of what a little creativity and elbow grease can achieve.
A weekend stair makeover isn’t just a home upgrade—it’s a confidence boost for DIY enthusiasts looking to make lasting improvements on their own terms. So pick your color palette, gather your materials, and step into a more beautiful home—literally.

